Showing posts with label tutorial. Show all posts

Thursday, April 17, 2014

Tutorial by VioletsBuds: Ruched Zinnia Flower

I'm amazed by how pretty VioletsBuds' creations are. She makes beautiful handmade accessories and home decors. Her flowers are simply adorable! They are beautifully made and her design is fabulous.

Want to learn how to make a runched Zinnia flower? Well, Melanie from VioletsBuds generously shares a tutorial on how to make one.


The Zinnia Ribbon flower is one of my favorites, but I don't make it very often. It can be quite time consuming, but it makes a fun, unique flower. I find it easiest to use a 7/8" or 1" wide ribbon, but other sizes can be used as well.


Starting at the bottom corner, make a running stitch at a 45*   angle. Count the number of stitches it takes to make the first pass. (I like to use an even number). You will want to use the same number of stitches for each pass so that your petals all look even.


Once you get to the edge, make a 90* turn and stitch to the   next edge. (If  you like, you can draw lines at 90* angles down the strip (zig zag). I   skipped this step and just eyeballed the angle while I stitched.) After making a few passes you can start pulling the thread taut and make the ruched petals.


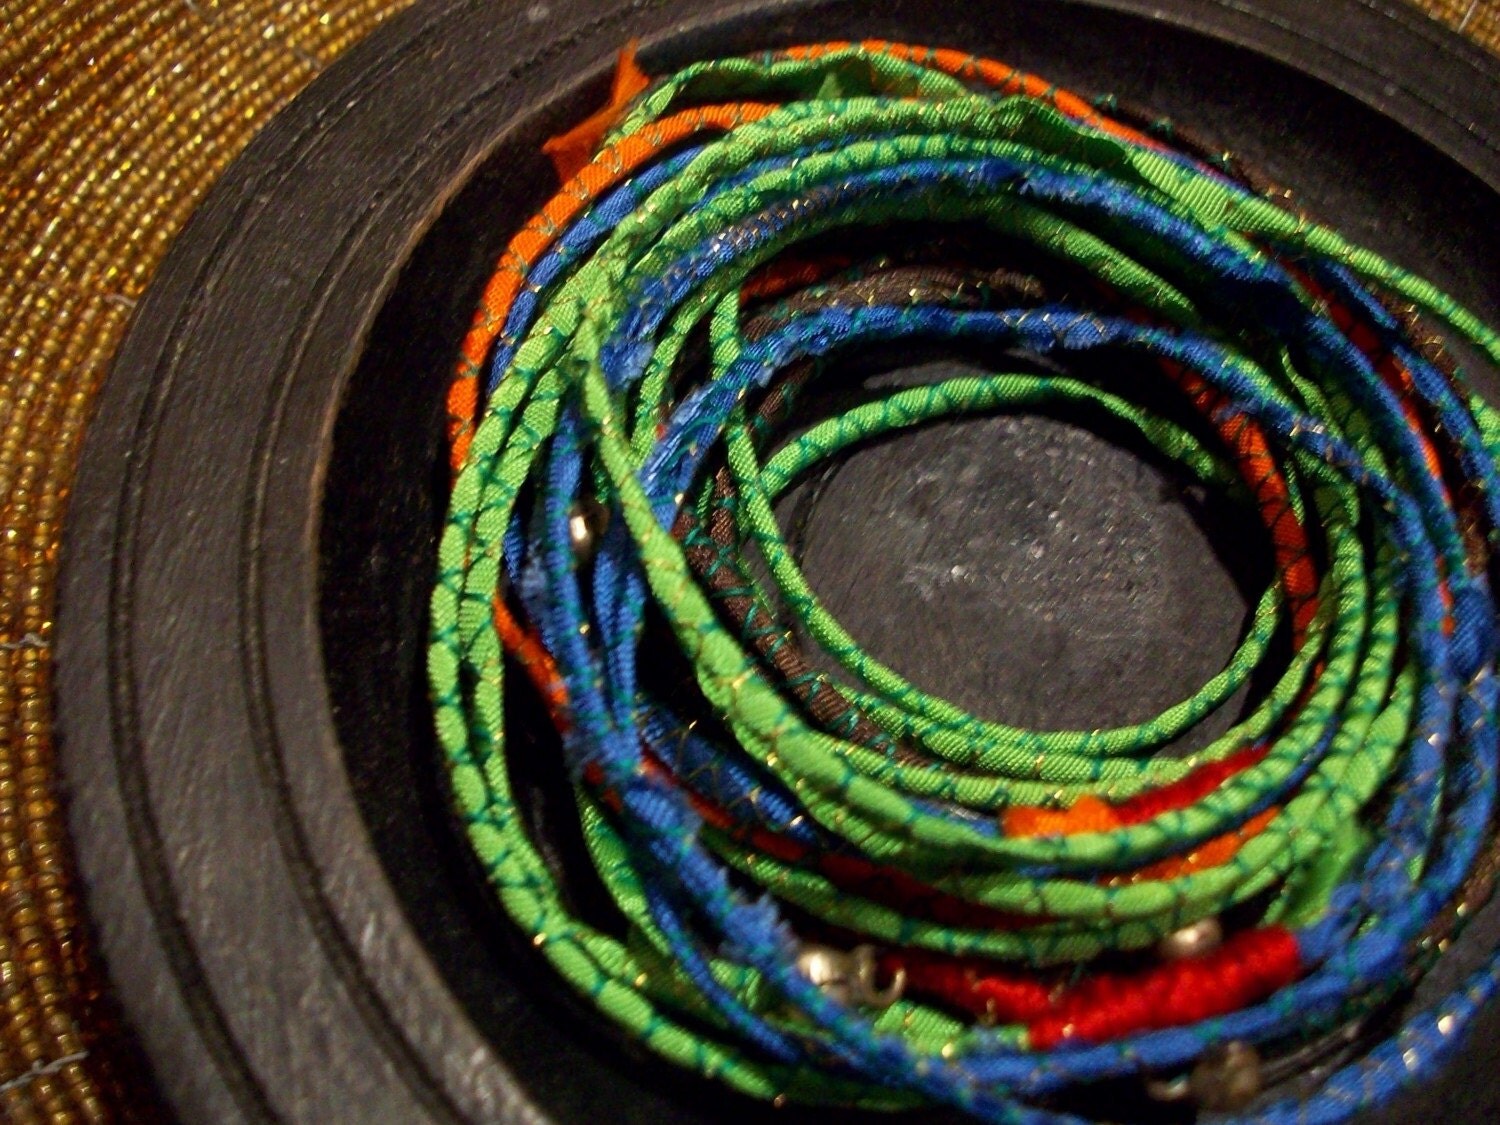
When your ruched ribbon is as long as you want it, knot & cut the thread. Next, start curling the ribbon in a circle to form a flower. You can secure it with thread, sewing it in place. Or, you can use a hot glue gun to glue the flower down to a piece of felt.


The finished flower should look like this. It can be attached to a headband or clip to wear as a hair accessory, or put on a lapel pin, or to adorn a handbag. I used a blue zinnia in this hair fascinator and love the added texture it brings.


If you make a ruched ribbon zinnia, we would love to see your work! Let us know what you think of the tutorial too.

Friday, March 14, 2014

Tutorial: How to Make Pinback Button

Happy Friday! 

 
Do you remember Toni of Little House of Crafting? She was one of our awesome Saturday Artisans. Learn more about her here.

Today, Toni shares with us on how to make Pinback Button.
 
The button materials here are those necessary to make 1.25 inch buttons. Luckily, the process used to make pinback buttons does not change across sizes. This means you can use this process for creating 1 inch buttons as well as the 3 inch buttons! 

There are various kinds of button presses and button cutters. Those used here are from www.buttonbiz.com/.

The button design used in this tutorial is her own creation. Please do not use it without permission.

Now, let's make some buttons!

Materials needed:

Materialsrevised by Tharidra

1. Use button cutter to cut button designs. See example below:

Cutter by Tharidra

2. Prep the button maker as shown below:

Prep by Tharidra

3. Put the shell in the left side of the button maker:

Shell by Tharidra

4. Put the design on top of the shell:

Design by Tharidra

5. Add the mylar on top of the shell and the design. Add the pinback into the right side of the press. Make sure that the pinback is facing the opposite direction of the graphic. Here, the graphic has the top of the design pointing left. This means that you want to have the top of the pinback pointing right:

Mylar by Tharidra

6. Move the design up and push the button maker handle down to punch the design. 

Move design up by Tharidra

7. The shell, design and mylar are held in the press, awaiting the pinback:

Reset by Tharidra

8. Move the pinback button design up to where the design was and push the button press handle down to punch the design and the pinback together:

Move pinback up by Tharidra

9. And now you have a button! 

Yay button by Tharidra

10. Repeat until the process until you have made the desired amount of buttons:

Repeat by Tharidra

Enjoy your new found artisan craft!  If you have any questions please don't hesitate to contact Toni.  If you would rather have someone to make pinback buttons for you, ask Toni please! Buttons can be found at Little House of Crafting. I'm sure she will be happy to make some custom buttons for you.

Thank you for dropping by! Leave us a comment and it'll make our day! Happy crafting!


Saturday, April 3, 2010

Saturday Artisan: handmadebyannepotter


This week Saturday Artisan is Anne of handmadebyannepotter, a talented multi-media and global artist, I called.

In her shop, she offers selections of bags/ purses, jewelries, accessories, home decors, etc. I love how she embraces different cultures and collaborates that passion into what she makes. You could clearly see that in her shop. More importantly, what even made her worth of being Saturday Artisan? Her good and kind heart: she gives 50% of all proceeds to missions.


Tell us a bit about yourself and what arts/ craft that you make?
I am a stay-at-home mom to five children. I have been sewing for as long as I can remember, but I work with a lot of different media. I knit, crochet, quilt, paint, bead, needlepoint, embroider, etc. It’s my goal to be able to make anything I dream up (and I dream up a lot of stuff!) so I am trying to be proficient in whatever looks wonderful.


What is your favourite item in your shop?
Probably my Happy Birthday, Thomas A. Edison! Necklace.


I like beautiful things, but I also like to laugh a lot. This piece is perfect: beautiful AND it has a great personality.

What is your best seller?
My NAUGHTY Lumps of Coal. They’re a funny stocking stuffer for all the grumpy people in our lives.

Anne, if I may add: this Provence Monogrammed Grain Sack Pillow seems to be the 'hot item' now since the last time we talked. I'm sure your lumps of coal will be selling like nuts when we're closer to Christmas again this year.


What inspires you?
Travel and cultural art traditions like Thai pagodas, Mexican Milagros, Coptic crosses, Chinese chops (square name stamps), Pacific totem poles, and African masks.

What is your favourite tool that you cannot live without?
My mom gave me a pair of artery clamps for Christmas one year. I thought she was nuts. I use them all the time because they clamp like pliers, lock in place and get in narrow spots. They’re great for beadwork, woodwork, and turning fabric tubes for sewing. Mom, you’re brilliant!

During this recession time, tell us one thing that you do to save money?
I love to use recycled and repurposed materials; this is just how I like to operate. But when I feel that my budget is tight, I deliberately try to work out of my stash and try to reinvent tired elements. This is a creative challenge, but it stretches me and pushes my creativity to the next level.

Any tutorial that you’d like to share, pretty please?
Well OK, because you asked so nicely. Here’s how I make my Goa Silk Necklace.


Take long lengths of silk or rayon seam binding and sew them together, end to end (I shoot for 160”-170” total). Then place one end under your sewing machine presser foot, and begin twisting until is forms a tight tube of fabric. Zigzag over the cord and continue to twist (same direction for the whole length) until you reach the end. Butt ends together and zigzag over joint. Global gorgeous.

Stay-tuned for tomorrow's giveaway that Anne will be sponsoring. In the meantime, feel free to leisurely browse her shop.

Saturday, August 9, 2008

New Blog Template

Some of you may notice a big change on my blog look. I just LOVE this new look, thanks to Debbie of NYPapercrafter who shared this fabulous templates from Lena's Simply Fabulous blog. I had the hardest time picking a template. Let me tell you, it's not an easy task to narrow it down. Well, you know what I'm talking about once you look at those templates.


I ended up choosing this birdie template because I could not resist how adorable and colorful it is. It is So refreshing! It may not look consistent with my ETSY Greeting Cards store nor my supply store, but hey...it still shows my fun side :-) 

 Have I mentioned that they're FREE? Yes, these gorgeous templates are FREE for you to use. And to set it up, Lena makes it so easy for us, she even provides us with a comprehensive tutorial site

 Now, are you curious about what Debbie chose for her blog? Why don't you take a peek at it? By the way, now is a good time to do it since she has a giveaway going on. You don't want to miss it, trust me! Don't forget to let her know I say hi.